
Sent to you by Kim L. via Google Reader:

My personal yogurt consumption goes up and down. I'll go for weeks eating it every day and then suddenly, I'll stop and a month will go by before I have it again. I have no good explanation for this. It's just the way things happen in my edible world.
I'm currently is a very pro-yogurt phase. I've been eating more than a quart a week and started feeling guilt about consuming so many plastic containers. It was time to restart my homemade yogurt habit.
Truly, making yogurt at home couldn't be easier. I stop doing it out of laziness, but once I force myself back into the routine of it, I'm always glad (sounds like so many things in life, doesn't it?).
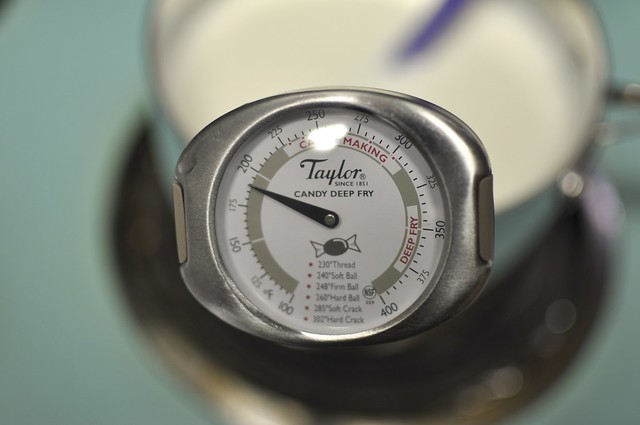
The first step is to heat the milk to 190-200 degrees F. You can use any milk you'd like. I made this batch using six cups of whole, un-homogenized milk (because it's not homogenized, the cream will rise to the top, leaving me with a gorgeous, rich upper layer).
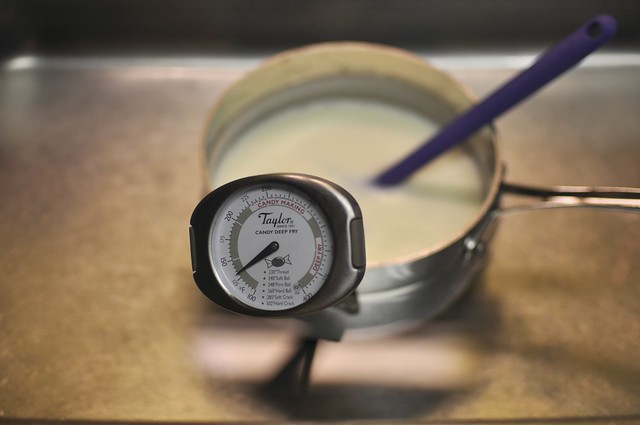
Once it reaches that temperature (take care not to let it boil), you want to cool the milk down to 120 degrees F. I do this by filling my sink with cold water and placing the pot in. The water helps reduce the temperature quite rapidly, so don't walk away during this step.

Once it has cooled to 120 degrees F, whisk two tablespoons of yogurt into the milk. Over the years, I've tried using various amounts of yogurt to start my batches and I've actually found that the smaller amounts work better than larger amounts. A tablespoon for every 3-4 cups of milk just seems to work perfectly.
There was also a time during which I stirred some dry milk into each batch of yogurt I made. I'd heard it made for a thicker yogurt. In the end, I decided it had no discernable positive impact on the finished product and, if anything, left me with lumpy yogurt.

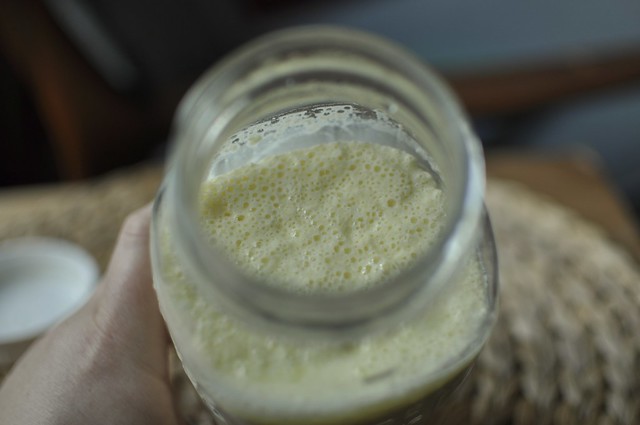
Once you've stirred the yogurt in, pour the inoculated milk into your jars. You'll see that my jars aren't entirely full. There's no reason why you can't fill them up to the top. I just didn't have enough milk in the fridge to make a full batch. However, I filled the jars evenly because I wanted to ensure that they'd process at the same rate.
A note about the starter yogurt you use: Make sure to use a yogurt that you like. There are a number of different yogurt bacterias out there and they all turn out slightly different yogurts. Splurge on the starter in order to make something you're happy with.
There are a number of ways you can keep your yogurt warm during it's process. Some people have little machines. Others pop the jars in the oven with the light on. I've even heard that you can use a slow cooker or hot pads.
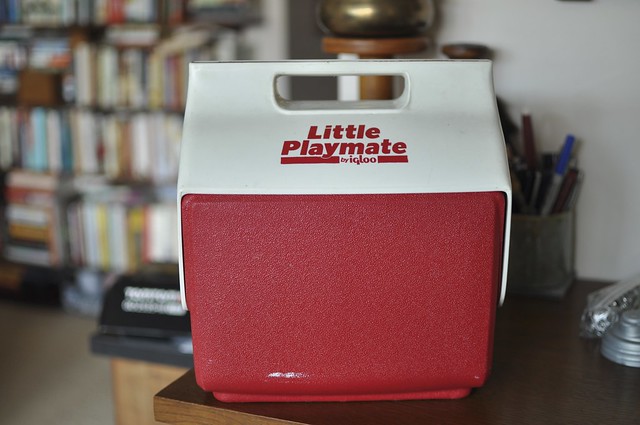
After trying all those methods, I've come to prefer using a cooler for this step (hat tip to the Frugal Girl for introducing me to this method). This Little Playmate holds two quart jars perfectly. I got it at a thrift store several years ago for a couple dollars, which has always pleased me.
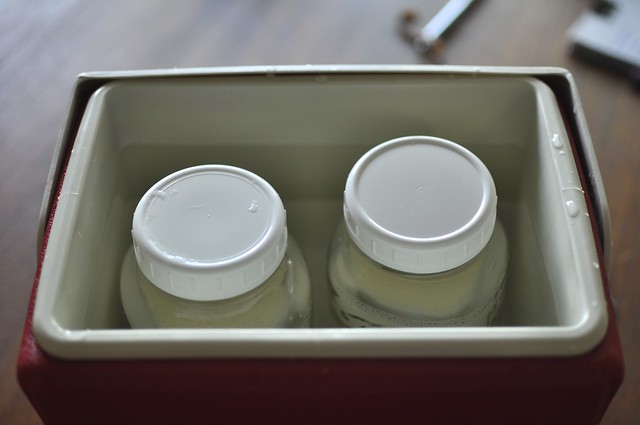
Place your filled jars into the cooler and add hot tap water until they're submerged, but not floating. You want the water to be around 120-125 degrees F. I've found that this is exactly how hot my hottest tap water is, so I use that. Makes life easy, too.
Once the jars are in the cooler and it's filled with water, close it and tuck it out of the way for 6-7 hours. You can go as long as 8-9 hours, but keep in mind that the longer it sits, the more pronounced its tang will be. When I was working, I'd often start a batch of yogurt just before I left the house in the morning and let it process all day. It made for a tart yogurt, but I loved the simplicity of it.
When the time is up, remove the jars from the cooler and place them in the fridge. Use your homemade yogurt like you would any other kind of yogurt. If you're interested in transforming your yogurt into a thicker product (along the lines of greek yogurt), all you do is strain it. Well Preserved has a good post on that, as well as suggestions for using up the resulting whey.
For those of you who regularly make yogurt, do you have any tips to share?
Related Posts:
Things you can do from here:
- Subscribe to Food in Jars using Google Reader
- Get started using Google Reader to easily keep up with all your favorite sites

Aucun commentaire:
Publier un commentaire